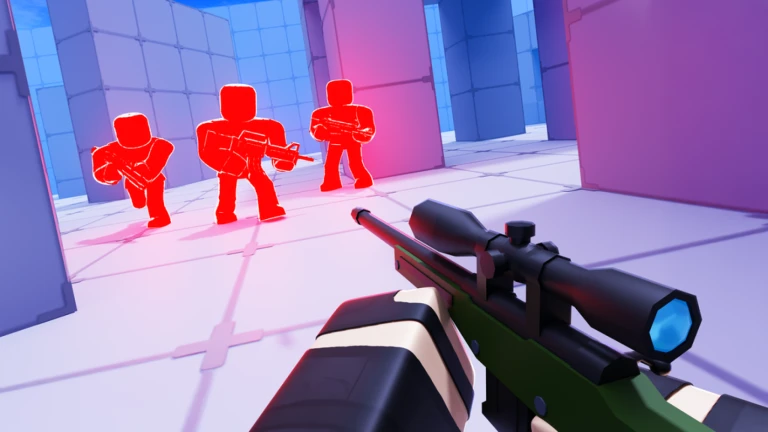
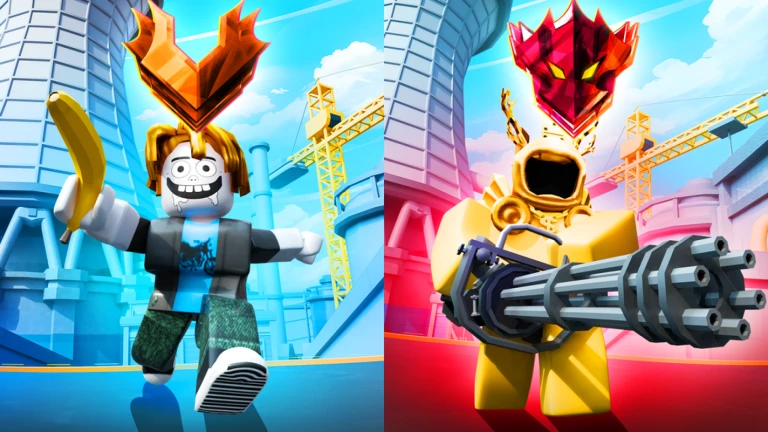
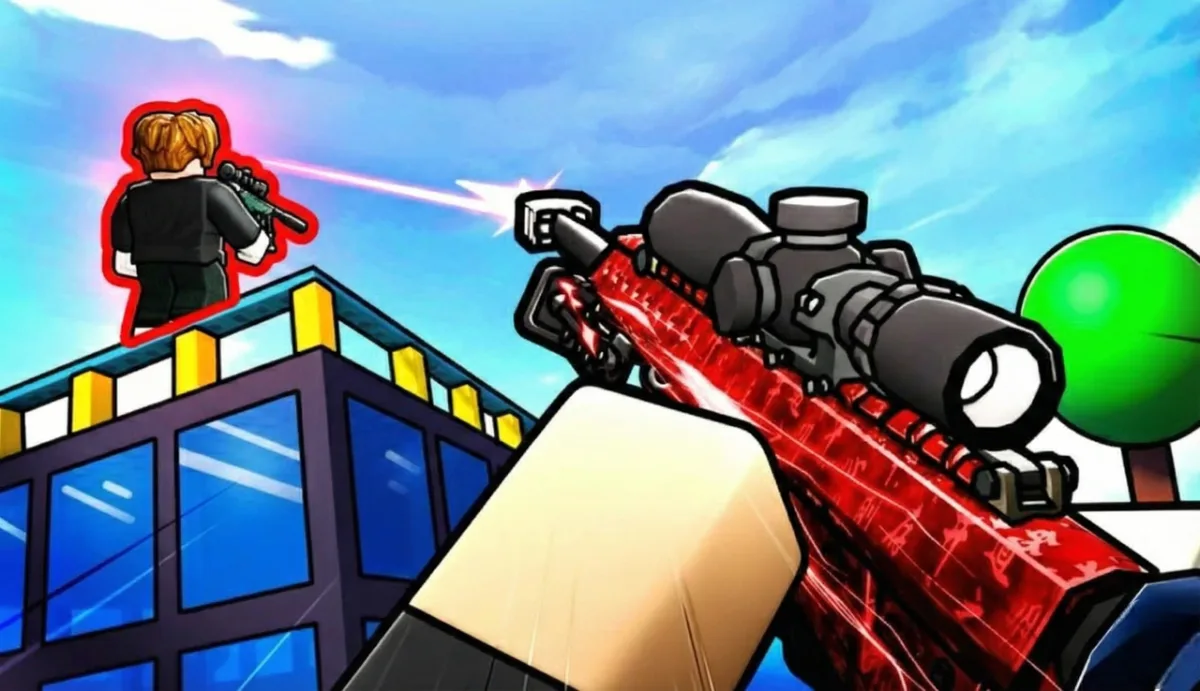
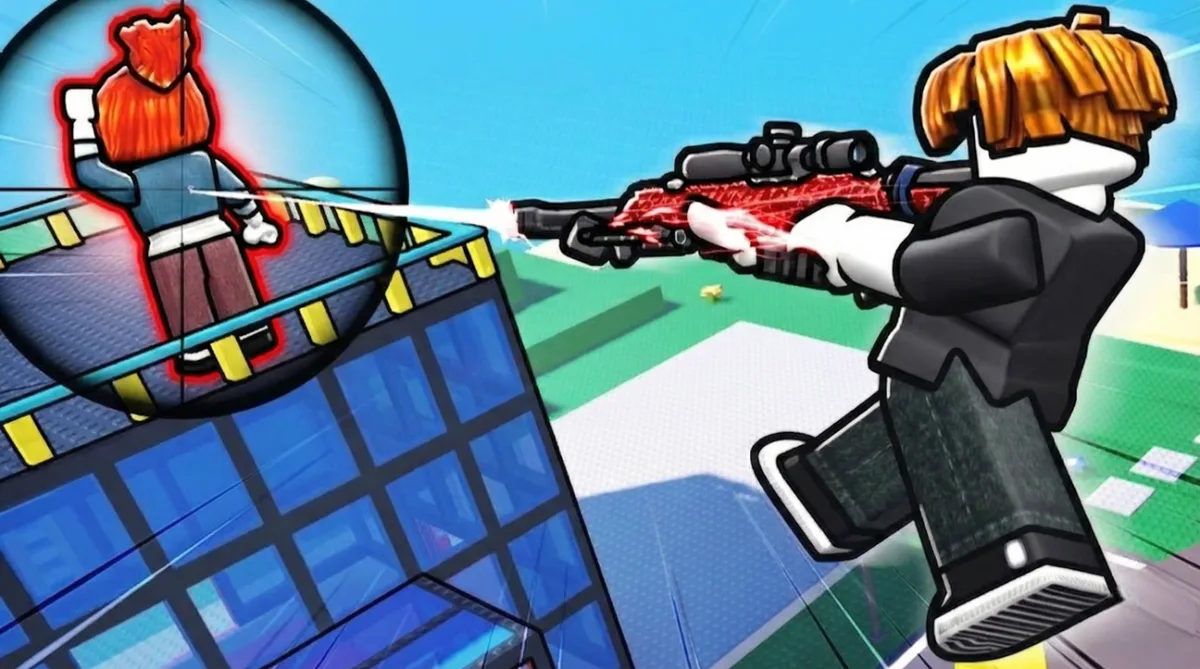
RIVALS has 28 maps: 13 regular, 6 big versions, 7 legacy, and 1 baseplate. Arena is most balanced (AWP dominates), Backrooms favors shotguns, Bridge is sniper paradise, and Construction rewards high ground.
I've played every map in RIVALS probably hundreds of times at this point. Some I love, some I used to hate until I figured them out. The difference between winning and losing often comes down to knowing the map better than your opponent.
This guide covers all the main maps, their callouts, and what actually works on each one. Not theory, just stuff I've learned from 400+ hours of getting destroyed and slowly getting better.
Check out our RIVALS Beginner Guide if you're still learning the basics, or grab some free keys from codes first.
Map Categories
RIVALS has 28 maps total:
- 13 Regular maps - The main rotation
- 6 Big versions - Larger variants of regular maps
- 7 Legacy maps - Old versions, private servers only
- 1 Baseplate - Private servers only
I'll focus on the regular maps since those are what you'll actually play in matchmaking.
Arena
The most balanced map in the game. Symmetrical layout, clear sightlines, no weird angles. This is where pure aim matters most.
Layout:
- Two spawn areas on opposite ends
- Central platform with cover
- Side corridors for flanking
- High positions on both sides
What works:
- AWP dominates the long sightlines. I've had games where I just held mid and farmed kills.
- Aggressive players can use the side corridors to flank. Shotgun works well here.
- The central cover is a death trap if you stay too long. Peek, shoot, move.
Common mistake: Standing in the open on the central platform. You're visible from everywhere. I died there so many times before I learned to use it for quick peeks only.
Backrooms
Tight corridors, low visibility, close-quarters chaos. This map rewards aggression and punishes camping.
Layout:
- Maze-like corridors
- Multiple levels
- Limited long sightlines
- Lots of corners
What works:
- Shotgun is king here. I've dropped 20+ kills just holding corners.
- Sound is key. Footsteps echo in the corridors. Play with headphones.
- Don't ADS around corners. Hip fire and react.
Common mistake: Bringing an AWP. I tried it once. Went 2-11. The sightlines are too short.
Bridge
Long map with a central bridge connecting two sides. Sniper paradise if you can hold angles.
Layout:
- Two raised spawn areas
- Central bridge (exposed)
- Lower paths under the bridge
- Side routes with cover
What works:
- AWP or Sniper from spawn. You can see the entire bridge.
- If you're not sniping, take the lower paths. The bridge is a death sentence.
- Smoke grenades are essential for crossing.
Common mistake: Running across the bridge without smokes. I watched a teammate do this five times in one game. Five deaths. Same spot.
Construction
Vertical map with scaffolding, ramps, and multiple levels. Movement matters more than aim here.
Layout:
- Ground level with cover
- Multiple scaffolding levels
- Ramps connecting floors
- Open areas between structures
What works:
- High ground wins. Get up on the scaffolding and hold angles down.
- Scythe dash is insane here. You can close gaps between platforms instantly.
- AK-47 or Burst Rifle for the medium-range fights.
Common mistake: Staying on ground level. You're at a massive disadvantage against anyone above you.
Crossroads
Four-way intersection with buildings on each corner. Classic FPS layout.
Layout:
- Central intersection (exposed)
- Four corner buildings with windows
- Alleyways between buildings
- Rooftop access
What works:
- Hold windows and pre-aim the intersection. Free kills on anyone crossing.
- Rooftops give you angles on multiple buildings.
- Smoke the intersection if you need to rotate.
Common mistake: Peeking the same window twice. If they saw you once, they're pre-aimed. I learned this after getting one-tapped three times in a row.
Dimension
Sci-fi themed map with teleporters and unusual geometry. Takes time to learn.
Layout:
- Multiple platforms at different heights
- Teleporters connecting areas
- Open central area
- Tight corridors on the edges
What works:
- Learn the teleporter destinations. You can catch people off guard.
- Minigun is surprisingly good here. The open areas let you suppress.
- Watch your back. Teleporters mean enemies can appear anywhere.
Common mistake: Ignoring the teleporters. I didn't use them for my first 20 games on this map. Once I learned them, my win rate doubled.
Docks
Waterfront map with shipping containers and open areas. Mix of long and short sightlines.
Layout:
- Shipping container maze
- Open dock area
- Warehouse buildings
- Water (fall in and you die)
What works:
- Containers provide great cover for aggressive plays.
- AWP works in the open dock area.
- Watch your positioning near water. I've been knocked in more times than I want to admit.
Common mistake: Fighting in the open dock without cover. The containers are there for a reason.
Graveyard
Spooky map with tombstones, crypts, and fog. Visibility is limited.
Layout:
- Tombstones providing scattered cover
- Central crypt building
- Foggy atmosphere
- Uneven terrain
What works:
- Shotgun and SMG for the close-range fights.
- Use tombstones as cover, but don't stay behind one too long.
- The crypt is a strong position but everyone knows it.
Common mistake: Trying to snipe through the fog. The visibility is too low. I wasted so many AWP shots before switching to close-range weapons.
Onyx
Dark, industrial map with tight corridors and verticality.
Layout:
- Multiple floors connected by stairs
- Tight corridors
- Central open area
- Catwalks above
What works:
- Catwalks give you angles on the entire map. Get up there.
- Burst Rifle shreds in the corridors.
- Sound cues are important. Listen for footsteps on metal.
Common mistake: Ignoring the catwalks. High ground advantage is real.
Playground
Colorful map with playground equipment. Deceptively complex.
Layout:
- Central playground structure
- Open areas around the edges
- Multiple levels on the structure
- Slides and tunnels
What works:
- The playground structure is the key position. Control it.
- Slides can be used for quick escapes or flanks.
- M4A1 or AK for the medium-range fights.
Common mistake: Fighting in the open instead of using the structure. The playground isn't just decoration.
Splash
Water park themed map. Lots of cover and flanking routes.
Layout:
- Water slides and pools
- Multiple buildings
- Raised lifeguard towers
- Tight indoor areas
What works:
- Lifeguard towers are sniper spots. Control them or clear them.
- Indoor areas favor shotguns.
- Water slows you down. Avoid it during fights.
Common mistake: Getting caught in the water during a gunfight. You're a sitting duck.
Shooting Range
Exactly what it sounds like. Long sightlines, minimal cover.
Layout:
- Long shooting lanes
- Minimal cover
- Raised positions on the sides
- Target dummies (don't shoot them, they're not enemies)
What works:
- AWP or Sniper. This map was made for them.
- If you don't have a sniper, use smokes to cross.
- The raised positions are strong but exposed.
Common mistake: Bringing a shotgun. I've seen people try. It doesn't work.
Station
Train station map with platforms and trains.
Layout:
- Multiple train platforms
- Trains providing cover
- Underground passages
- Upper walkways
What works:
- Use trains as mobile cover. They block sightlines.
- Underground passages are good for flanking.
- Burst Rifle or AK for the platform fights.
Common mistake: Standing on the tracks when a train comes. Yes, they can kill you. Yes, I learned this the hard way.
General Map Tips
Learn one map at a time. I used to just queue and hope. Now I focus on learning specific maps before switching.
Watch where you die. Every death teaches you an angle or position you didn't know about.
Sound matters. Footsteps, reloads, ability sounds. Play with headphones.
Callouts help. Even simple ones like "left side" or "on top" can win rounds.
Adapt your loadout. Don't bring the same weapons to every map. I have different loadouts saved for different map types.
Related RIVALS Content
- RIVALS Codes - Free keys and cosmetics
- RIVALS Beginner Guide - Settings, sensitivity, and tips
- RIVALS Weapons Tier List - All weapons ranked
- RIVALS Ranked Guide - How to climb ranks
