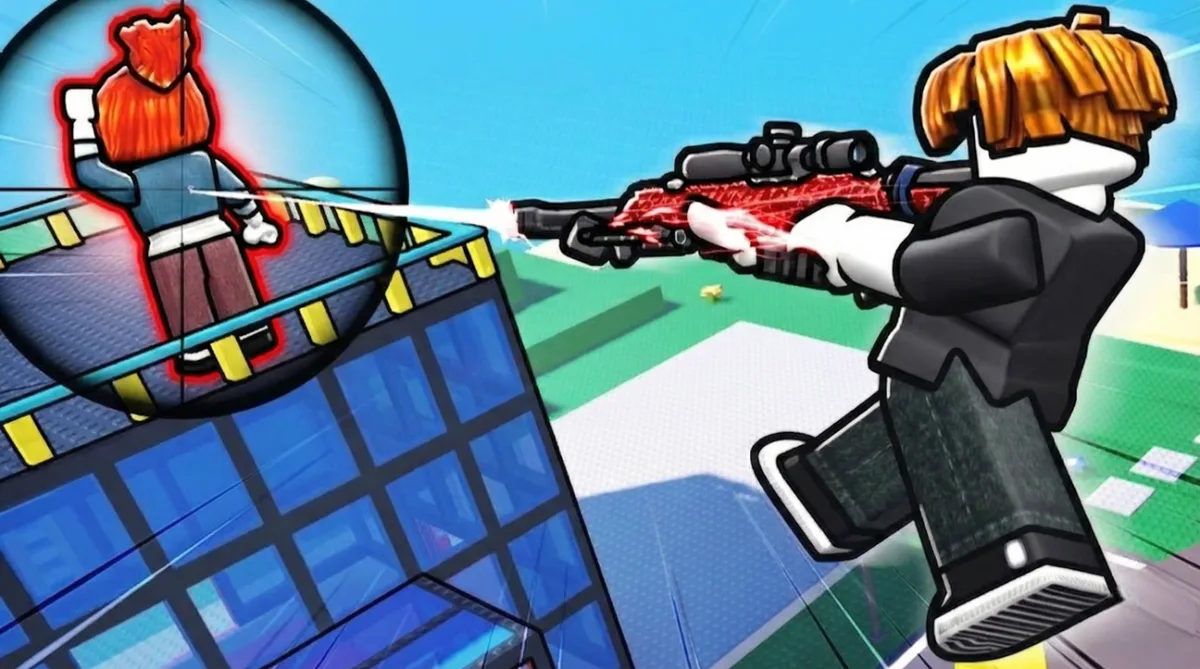
All 7 Knife Arena maps with callouts, spawn points, best positions, and strategies. This guide covers Warehouse, Courtyard, Rooftop, Factory, Pixel Arena, Bunker, and Shipyard.
Died to the same corner camper 5 times before I realized there was a flank route I'd never noticed. Map knowledge in Knife Arena is the difference between getting farmed and doing the farming. After 50+ hours across every map, I've learned where to go, where to avoid, and where the kills are.
The December 2025 updates have been massive. First the "HUGE UPDATE" on Dec 19 added 2 new knives, a new map, and a new Series Skin Case. Then on Dec 26, another update dropped with a pixel-style map and 1v1 Ranked matchmaking coming soon. Lots of new content to learn.
This guide breaks down every map in Knife Arena with callouts, spawn points, and strategies that actually work. Knowing the maps won't fix your aim, but it'll put you in positions where your aim matters less.
Make sure you've got a decent knife first. Check the Knife Arena Knife Tier List if you're still using the default blade.
Map Rotation
Knife Arena rotates through maps automatically. You can't choose which map you play in FFA mode, so you need to know all of them. The rotation seems random, though some maps appear more frequently than others.
Current map pool:
- Warehouse
- Courtyard
- Rooftop
- Bunker
- Shipyard
- Factory (Dec 19 Update)
- Pixel Arena (Dec 26 Update - New!)
Each map has different layouts, sight lines, and flow patterns. What works on Warehouse will get you killed on Rooftop.
Game Modes
Knife Arena currently has FFA, with 1v1 Ranked matchmaking confirmed as coming soon:
Free-For-All (FFA): The original mode. Everyone against everyone. First to the kill target wins.
1v1 Ranked (Coming Soon!): The Dec 26 update announced 1v1 Ranked matchmaking is on the way. This will be huge for competitive players who want to test their skills without third-party interference.
Warehouse
The starter map. Simple layout, lots of cover, good for learning fundamentals.
Layout Overview
Warehouse is a rectangular arena with crates, pillars, and raised platforms. The center is open with scattered cover. The edges have more protection but fewer escape routes.
Key Areas:
- Center: High traffic, high risk. Good players avoid lingering here.
- Crate Stacks: The tall crate formations on each side. Great for ambushes.
- Catwalks: Raised walkways along the walls. High ground advantage but exposed.
- Corners: Four corner areas with solid cover. Popular camping spots.
Spawn Points
Spawns rotate between the four corners and the two long walls. After dying, you'll spawn away from where you died, usually on the opposite side of the map.
Spawn camping is real. Good players pre-aim spawn areas and catch people before they can react. Move immediately after spawning.
Best Positions
Crate Stack (East): My favorite spot. You can see center and the catwalk while having cover from the opposite side. Peek, throw, hide.
Catwalk (North): High ground makes throwing easier. The downside is everyone can see you. Use this when the lobby is distracted fighting elsewhere.
Corner (Southwest): Defensive position with two walls protecting you. Limited sight lines but safe. Good for when you're on a streak and don't want to risk it.
Warehouse Strategy
Play the edges. The center is a death trap unless you're confident in your aim. Use crates to break line of sight between throws. Don't stay on the catwalk too long because you're an easy target from below.
Common mistake: Standing in the open after getting a kill. The kill feed shows everyone where you are. Reposition immediately.
Courtyard
Open map with a central fountain. Less cover than Warehouse, more emphasis on movement.
Layout Overview
Courtyard is roughly square with a fountain in the middle. Low walls and planters provide minimal cover. The perimeter has archways and columns.
Key Areas:
- Fountain: Dead center. Provides some cover but you're surrounded.
- Archways: The covered walkways around the edges. Best cover on the map.
- Planters: Low walls that block body shots but not headshots.
- Corners: Open corners with columns. Less protected than Warehouse corners.
Spawn Points
Spawns are spread around the perimeter. You'll usually spawn near an archway, which gives you immediate cover.
Best Positions
Archway (Any): The columns break up sight lines while letting you peek multiple angles. This is where I spend most of my time on Courtyard.
Behind Fountain: Risky but effective. The fountain blocks throws from one direction while you focus on the other. Rotate around it to stay unpredictable.
Corner Columns: Stand behind a column and peek left or right. Simple but effective.
Courtyard Strategy
Movement is everything here. There's not enough cover to camp, so you need to keep moving. Use the fountain as a rotation point. Circle around it while throwing at anyone who stands still.
Tip: The planters are bait. They look like cover but they're too low. Crouch behind them and you're still exposed to headshots. Avoid them.
Rooftop
Vertical map with multiple levels. High ground matters more here than anywhere else.
Layout Overview
Rooftop is set on top of a building with different elevation levels. There's a main platform, raised sections, and lower areas near the edges.
Key Areas:
- High Platform: The raised center section. Best sight lines but most exposed.
- Ramps: Connecting the levels. Dangerous transition points.
- Lower Edges: The areas around the perimeter. Safer but limited visibility.
- AC Units: Large objects providing hard cover. Use these.
Spawn Points
Spawns are mostly on the lower edges. You'll need to push up to the high ground, which is where most fights happen.
Best Positions
AC Unit (East): Hard cover with a view of the high platform. Peek around it to throw at people on the ramp.
High Platform Edge: If you can hold the high ground, you dominate. The problem is getting there and staying there. Multiple angles can hit you.
Lower Corner (Northwest): Defensive spot with limited exposure. Good for when you're being hunted.
Rooftop Strategy
Control the high ground or avoid it entirely. The middle ground (literally) is where you die. Either commit to pushing up and holding the platform, or stay low and pick off people who fall down.
The ramps are kill zones. Don't walk up them slowly. Sprint or don't go at all.
Factory (New Map)
Added in the December 2025 update. Industrial setting with machinery and conveyor belts.
Layout Overview
Factory is a medium-sized map with industrial equipment creating natural cover. Conveyor belts add a unique element since they affect movement.
Key Areas:
- Assembly Line: Central area with conveyor belts. Standing on them moves you, which can throw off your aim.
- Control Room: Raised room overlooking the floor. Great sight lines but only one entrance.
- Storage: Side area with crates and barrels. Good for ambushes.
- Catwalks: Metal walkways above the floor. High ground but exposed.
Spawn Points
Spawns are spread around the perimeter, similar to Warehouse. You'll usually spawn near cover.
Best Positions
Control Room: If you can hold it, you dominate. The single entrance is easy to watch, and you can see most of the floor below.
Behind Machinery: The large machines provide hard cover. Peek around them to throw at people on the conveyors.
Storage Corner: Defensive spot with multiple escape routes. Good for when you're being hunted.
Factory Strategy
The conveyor belts are the unique mechanic here. Use them to your advantage:
- Bait enemies onto conveyors. Their movement becomes predictable.
- Don't fight on conveyors yourself. The forced movement messes with your aim.
- Control Room is king. Take it early and hold it.
The map rewards patient play. Let enemies come to you instead of running into the open.
Pixel Arena (New Map - Dec 26 Update)
The newest map added in the December 26 update. A fun pixel-style aesthetic that stands out from the realistic maps.
Layout Overview
Pixel Arena has a retro, blocky visual style. The geometry is simpler than other maps, with clean angles and bright colors. Don't let the cute aesthetic fool you though. The sight lines are brutal.
Key Areas:
- Center Platform: Raised center area. High visibility but exposed from all sides.
- Corner Blocks: Large pixel blocks in each corner. Solid cover.
- Ramps: Connecting ground level to raised areas. Transition zones.
- Outer Ring: The perimeter walkway. Good for rotations.
Spawn Points
Spawns are in the corners and along the outer edges. The pixel aesthetic makes spawn points more visible, so move quickly after respawning.
Best Positions
Corner Block: The large blocks provide excellent cover. Peek around them to catch people crossing the center.
Raised Platform Edge: If you can hold the high ground without getting surrounded, you have great sight lines. The problem is the open nature of the platform.
Outer Ring: Use the perimeter to rotate safely. Less action but safer movement.
Pixel Arena Strategy
The clean geometry means fewer hiding spots. This map rewards aggressive play more than camping. The simple angles make throws more predictable, so your aim matters more here than map knowledge.
Tip: The bright colors can be distracting. Focus on movement, not the aesthetics.
Bunker
Indoor map with tight corridors. Close-quarters combat, fast reactions required.
Layout Overview
Bunker is a network of hallways and rooms. Sight lines are short. Fights happen at close range.
Key Areas:
- Main Hall: The central corridor connecting both sides.
- Side Rooms: Smaller rooms off the main hall. Good for ambushes.
- Intersections: Where hallways meet. High traffic, high danger.
- Dead Ends: Some corridors end in walls. Don't get trapped.
Spawn Points
Spawns are in the side rooms and corridor ends. You're usually close to enemies immediately after spawning.
Best Positions
Intersection (Center): You can see multiple hallways from here. Risky but high kill potential.
Side Room Doorway: Stand just inside a room and watch the hallway. People run past without checking.
Corner (Any): Bunker has lots of corners. Use them. Peek, throw, hide.
Bunker Strategy
Slow down. The tight spaces mean you'll run into enemies constantly. Check corners. Listen for footsteps. Don't sprint around blind corners.
Fast knives dominate here. The short distances mean travel time barely matters. If you have a speed knife, Bunker is your map.
Shipyard
Large outdoor map with containers and cranes. Long sight lines, good for range knives.
Layout Overview
Shipyard is the biggest map. Shipping containers create a maze-like layout with long corridors between them.
Key Areas:
- Container Rows: The main pathways between stacked containers.
- Crane Area: Open area with the crane structure. Long sight lines.
- Loading Dock: Lower area near the water. Less traffic.
- Container Tops: You can climb some containers for high ground.
Spawn Points
Spawns are spread across the map. You might spawn far from any action and need to rotate in.
Best Positions
Container Top (Center): High ground with cover from the container below. Great for picking off people in the rows.
Row End: Stand at the end of a container row and throw at anyone who walks through. They have to come to you.
Crane Base: The crane structure provides cover while giving you sight lines down multiple rows.
Shipyard Strategy
Use the size to your advantage. You don't have to fight constantly. Find a good position and let enemies come to you. The long sight lines favor range knives and patient players.
Don't get lost. The container maze can be disorienting. Learn the layout so you always know where you are.
General Map Tips
These apply to every map:
Spawn Awareness
After killing someone, they'll respawn somewhere else on the map. Good players track spawns and pre-aim likely spawn locations. Great players rotate away from spawns to avoid revenge kills.
Sound Cues
Footsteps are loud in Knife Arena. Turn up your volume. You can hear enemies before you see them, which gives you time to prepare.
High Ground
Throwing downhill is easier than throwing uphill. The arc works with you instead of against you. Take high ground when possible.
Cover Usage
Never stand in the open. Always have something nearby you can hide behind. Peek, throw, hide. Repeat.
Map Flow
Every map has patterns. Players tend to rotate the same ways, camp the same spots, push the same angles. Learn these patterns and exploit them.
Related Content
- Knife Arena Codes for free rewards
- Knife Arena Beginner Guide for gameplay fundamentals
- Knife Arena Knife Tier List for best knives per playstyle
- Knife Arena Controls Guide for optimal settings
