Best Dead Rails classes: Doctor (15 Bonds), Cowboy (50 Bonds), and The Alamo (50 Bonds) dominate S-tier. Doctor is the best value in the game with team healing and faster revives. Cowboy gives immediate combat capability plus a horse for mobility.
I've bought every class and tested them all across 50+ runs. Some are worth every Bond. Others are traps.
How Classes Work
Classes are purchased with Bonds at the Tailor shop in the Lobby. Each class provides:
- Starting items (weapons, supplies, gear)
- Passive abilities (some classes)
- Unique playstyles
You keep your class for the entire run. Choose wisely based on your team composition and playstyle.
S-Tier Classes (Best)
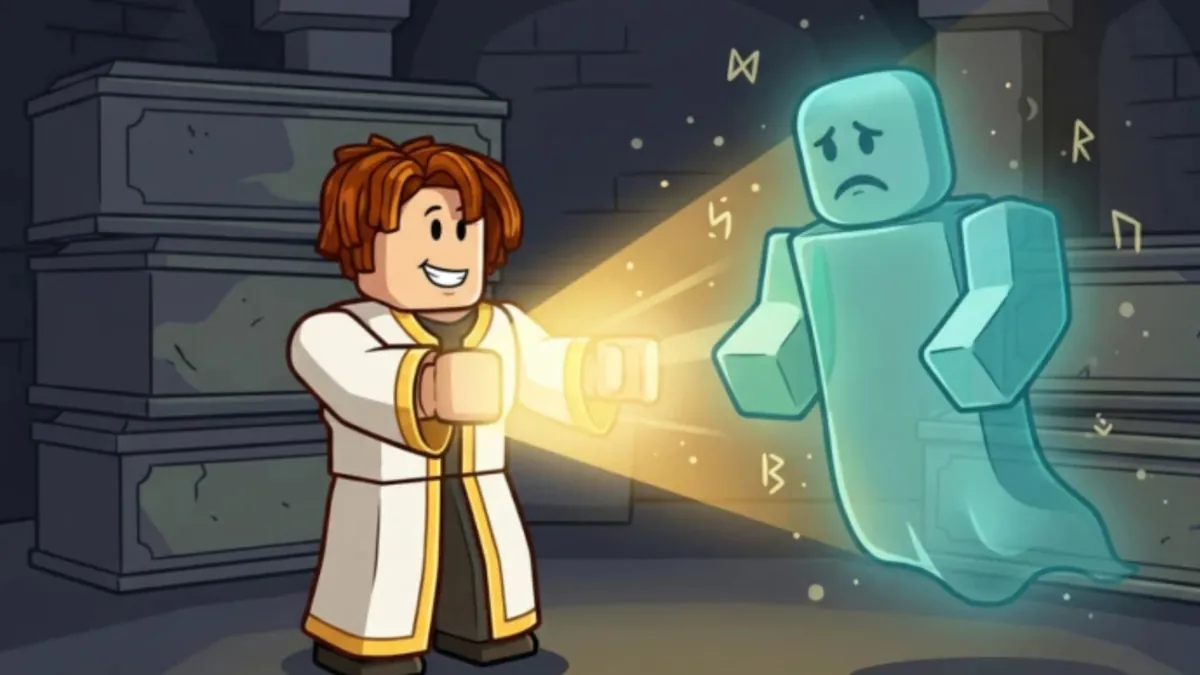
Doctor (15 Bonds)
Starting Items: 2 Snake Oils, 2 Bandages
Passive: Revive players using half your current health
Why S-Tier:
- Cheapest class with massive team value
- Faster revives save runs
- Starting healing items are clutch
- Essential for team survival
Doctor is the best value class in the game. For just 15 Bonds, you get healing items AND the ability to revive teammates faster. I've saved runs with clutch Doctor revives more times than I can count. Every team needs a Doctor.
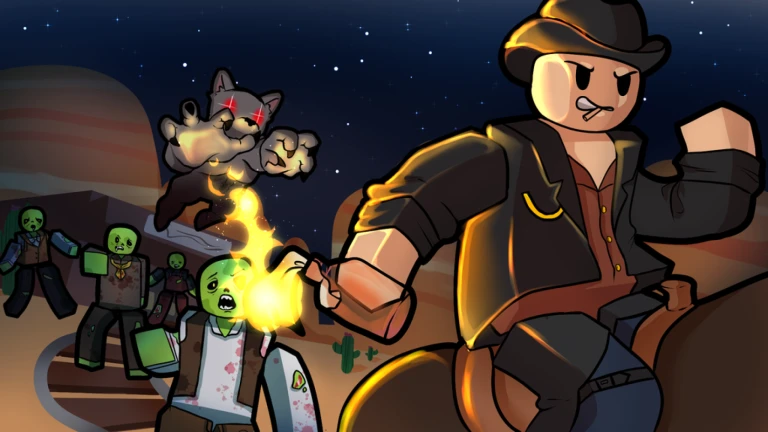
Cowboy (50 Bonds)
Starting Items: Revolver, 2 Revolver Ammo packs, Horse
Passive: None (items only)
Why S-Tier:
- Immediate combat capability
- Horse provides unmatched mobility
- Can loot faster than any other class
- Revolver is reliable early game
Cowboy gives you everything you need from minute one. The horse alone is worth the price - you can outrun any enemy and loot towns before the train leaves.
The Alamo (50 Bonds)
Starting Items: 3 Sheet Metal, 3 Barbed Wire, Helmet
Passive: None (items only)
Why S-Tier:
- Instant train fortification
- Sheet metal is expensive and rare
- Barbed wire damages attackers
- Helmet provides early protection
Alamo lets your team skip the early barricade grind. Those 3 sheet metals would cost a fortune at the store. Your train is secure from wave one.
A-Tier Classes (Great)
Vampire (50 Bonds)
Starting Items: Shovel, Vampire Knife
Passive:
- +50% movement speed (faster than horse)
- +40 knife damage
- Eat bodies to heal
- Takes damage in sunlight
Why A-Tier:
- Fastest class in the game
- Vampire Knife two-shots most zombies
- Self-healing through kills
- Dominates at night
Vampire is strong but has a learning curve. The sunlight damage is brutal early game. Once you learn staying in shadows and timing your attacks, Vampire becomes a killing machine.
Ironclad (100 Bonds)
Starting Items: Full armor set (Helmet, Chestplate)
Passive: Armor provides damage reduction
Why A-Tier:
- Tankiest class available
- Can survive hits that kill others
- Great for new players
- Expensive but worth it
Ironclad is the "I don't want to die" class. The full armor set lets you make mistakes and survive. Great for learning the game or tanking for your team.
High Roller (50 Bonds)
Starting Items: Shovel only
Passive:
- 1.5x money from money bags
- 10x more likely to be struck by lightning
Why A-Tier:
- Massive economy boost
- Funds team purchases
- Lightning risk is manageable
- Great for experienced players
High Roller prints money. The lightning downside sounds scary but rarely matters if you stay inside during storms. Your team will have the best gear thanks to your income.
B-Tier Classes (Good)
Arsonist (20 Bonds)
Starting Items: 4 Molotovs
Passive: Immune to fire damage
Why B-Tier:
- Excellent crowd control
- Molotovs destroy zombie groups
- Fire immunity is situational
- Falls off late game
Arsonist dominates early waves. Throw a molotov into a zombie horde and watch them burn. The problem is molotovs run out, and the fire immunity rarely matters.
Conductor (50 Bonds)
Starting Items: 2 Coal
Passive:
- Train moves faster when you drive
- Half maximum health
- No starting melee weapon
Why B-Tier:
- Faster train = faster runs
- Starting coal is valuable
- Health penalty is brutal
- Requires team protection
Conductor is high risk, high reward. You make the train zoom but die in two hits. Only pick this if your team can protect you.
Priest (75 Bonds)
Starting Items: 2 Crucifixes, Shovel, 2 Holy Waters
Passive: Immune to lightning strikes
Why B-Tier:
- Holy water destroys vampires
- Crucifixes have utility
- Lightning immunity is niche
- Expensive for what you get
Priest is the anti-vampire specialist. If your run has lots of vampire enemies, Priest shines. Otherwise, the 75 Bond cost is hard to justify.
Miner (15 Bonds)
Starting Items: Mining Helmet, 2 Coal, Pickaxe
Passive: Pickaxe mines ores in one hit
Why B-Tier:
- Cheap and useful
- Mining helmet helps at night
- Starting coal is nice
- Pickaxe is decent melee
Miner is solid budget option. The mining helmet visibility boost is underrated, and the pickaxe doubles as a weapon. Good for new players saving Bonds.
C-Tier Classes (Situational)
Knight (75 Bonds)
Starting Items: Sword, Helmet, Chestplate
Passive: Buffed when King is on team
Why C-Tier:
- Requires King for full potential
- Expensive without combo
- Sword is mediocre
- Armor is nice but not enough
Knight only works if someone plays King. Without the combo, you're paying 75 Bonds for gear you could buy cheaper. Skip unless coordinating with friends.
Survivalist (Free to get)
Starting Items: Varies
Passive: Damage increases as health decreases
Why C-Tier:
- Low health = high damage sounds cool
- In practice, low health = death
- Inconsistent performance
- Better options exist
Survivalist's passive encourages risky play that usually gets you killed. The damage boost isn't worth being one hit from death.
None (Free)
Starting Items: Shovel only
Passive: None
Why C-Tier:
- It's free
- No advantages
- Only use if saving Bonds
- Required for Scorched Earth mode
None is the default. Use it while saving for better classes, but switch as soon as you can afford Doctor or Miner.
Class Recommendations
For Beginners
- Doctor (15 Bonds) - Cheap, useful, teaches teamwork
- Miner (15 Bonds) - Cheap, good starting gear
- Ironclad (100 Bonds) - Tanky, forgiving
For Solo Play
- Cowboy (50 Bonds) - Mobility and combat
- Vampire (50 Bonds) - Speed and self-healing
- Ironclad (100 Bonds) - Survivability
For Team Play
- Doctor (15 Bonds) - Team healing
- Alamo (50 Bonds) - Train defense
- High Roller (50 Bonds) - Team economy
Best Value
- Doctor (15 Bonds) - Best cost-to-value ratio
- Miner (15 Bonds) - Cheap and effective
- Arsonist (20 Bonds) - Great crowd control
Get Priority
If you're new, get classes in this order:
- Doctor (15 Bonds) - First priority
- Miner (15 Bonds) - Second priority
- Arsonist (20 Bonds) - Third priority
- Cowboy (50 Bonds) - When you have spare Bonds
- Alamo (50 Bonds) - For team play
- Vampire (50 Bonds) - For experienced players
- Ironclad (100 Bonds) - When you can afford it
More Dead Rails Content
- Dead Rails Codes - All working codes
- Dead Rails Guide - Beginner's survival guide
- Dead Rails Weapons Tier List - Best weapons ranked
- Anime Vanguards Tier List - Another Roblox tier list
- Tower Defense Simulator Tier List - Tower rankings
